
Colorful Teal and Orange Nigerian Fusion Wedding in Baltimore, Maryland
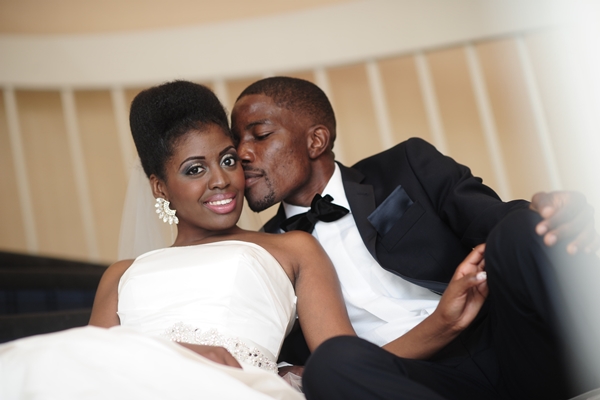
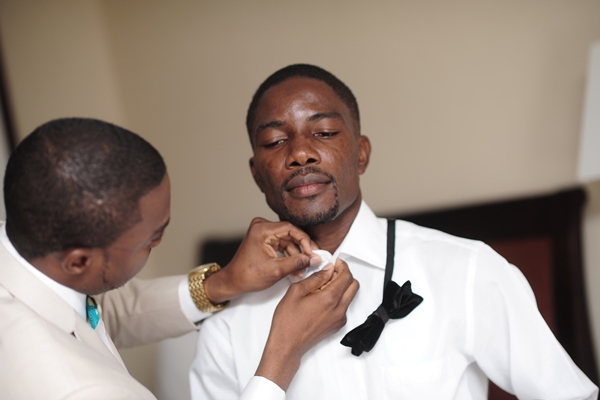
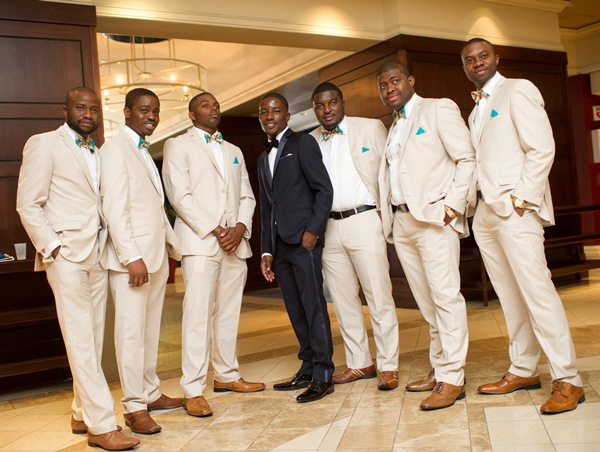
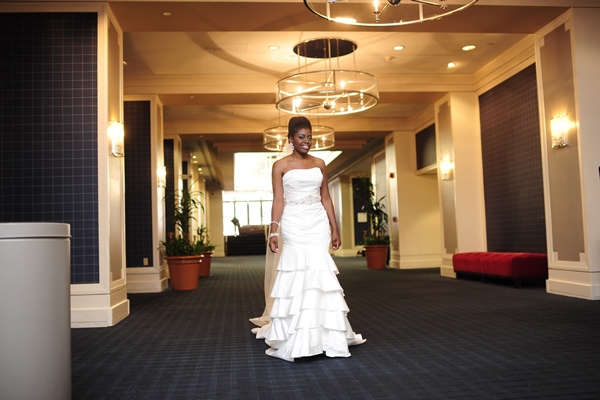
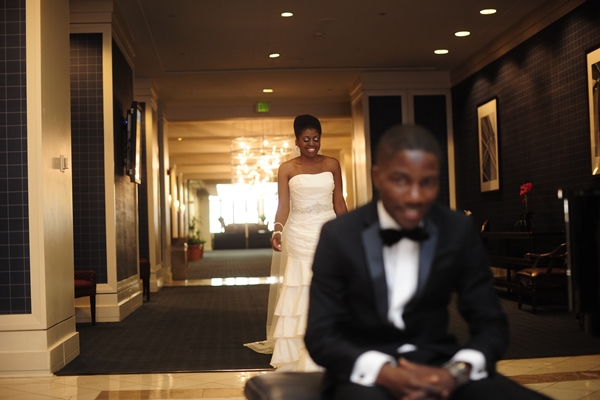
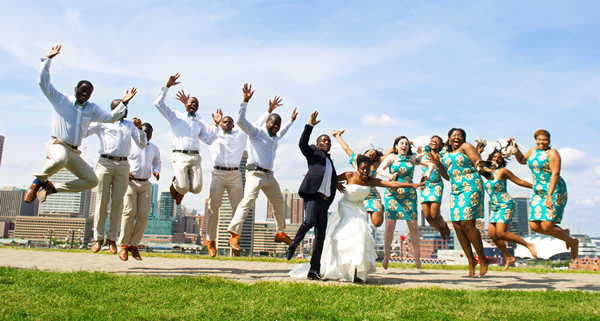
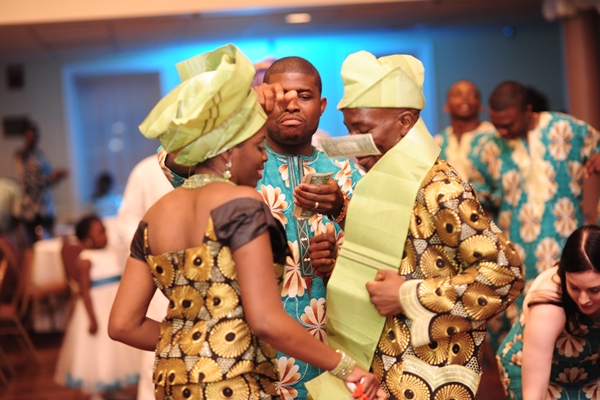
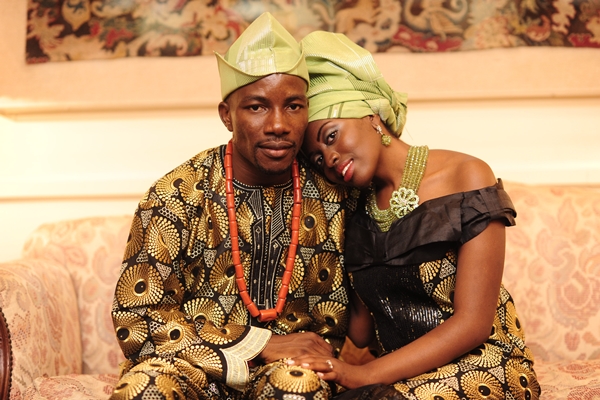
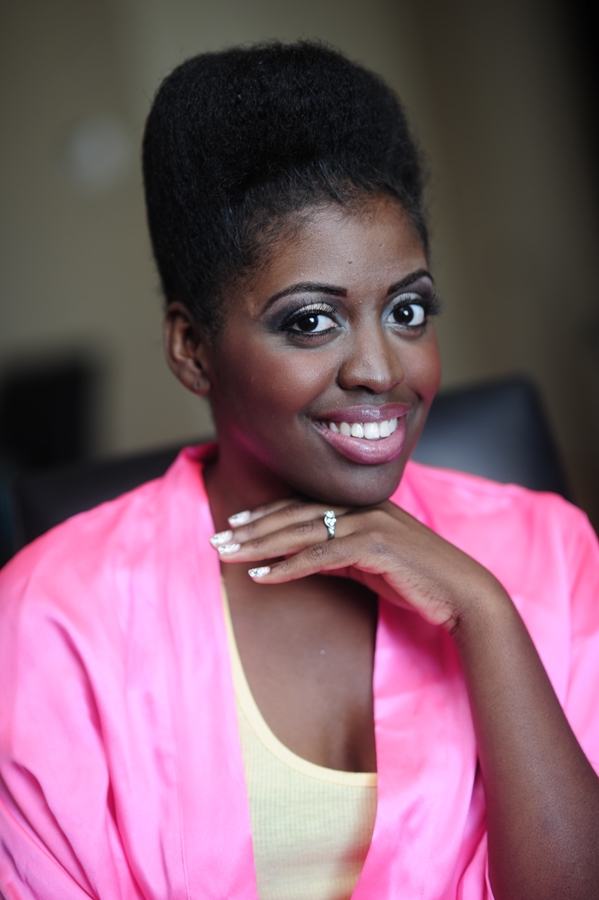
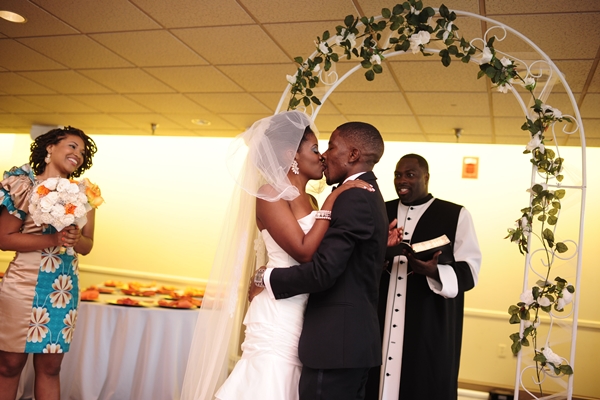
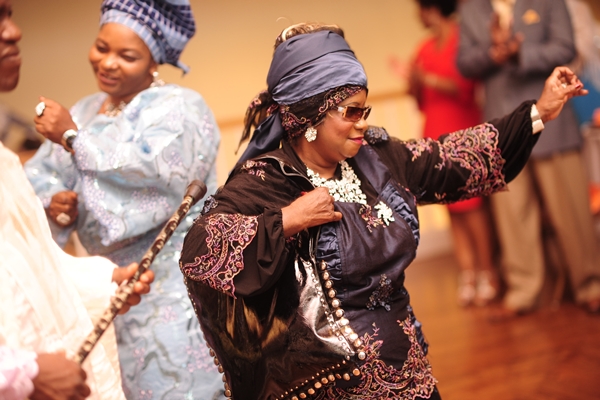
Charlotte Young and Olusola Fadare’s wedding was a chic and heartwarming celebration of culture and love. Charlotte’s stunning face, and timeless natural updo were complimented beautifully by her gorgeous crystal statement earrings. Olusola looked like prince charming in his perfectly tailored tuxedo, which he accessorized with charming personalized black cuff-links that read, “I Do.” This stylish couple fused Charlotte’s African American heritage with Olusola’s Nigerian culture throughout their ceremony and reception. In tribute to the groom’s Yoruba Nigerian roots, their bridesmaids wore Ankara fabric print dresses and danced the night away to Nigerian music; to celebrate the bride’s Southern roots, the couple jumped the broom and soul food was served during the reception. Paosin Photography took the most lovely pictures of this gorgeous fusion wedding.
Quick Facts
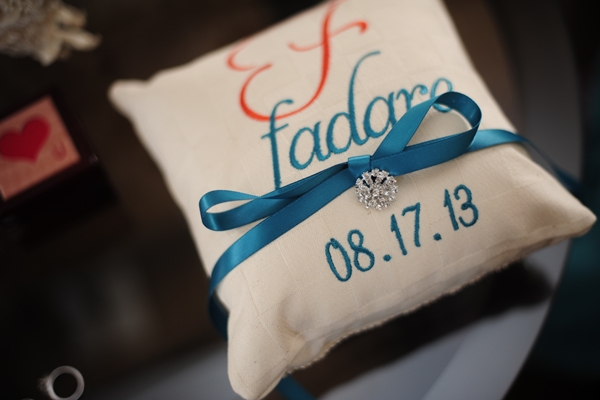
- Wedding Date: 08/17/2013
- Wedding Location: Preston Hall, Baltimore, MD
- Wedding Colors: Teal and Orange
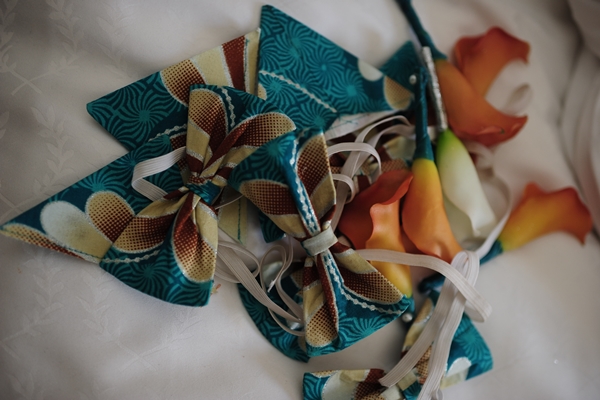
- Wedding Flowers: We made the flowers for the wedding: I used balsa wood and preserved roses for the bouquet and the bridesmaids used real touch calla lilies.
- First Dance Song: ”Amani” by Philip Monteiro/”I Love My Baby” by Wizkid
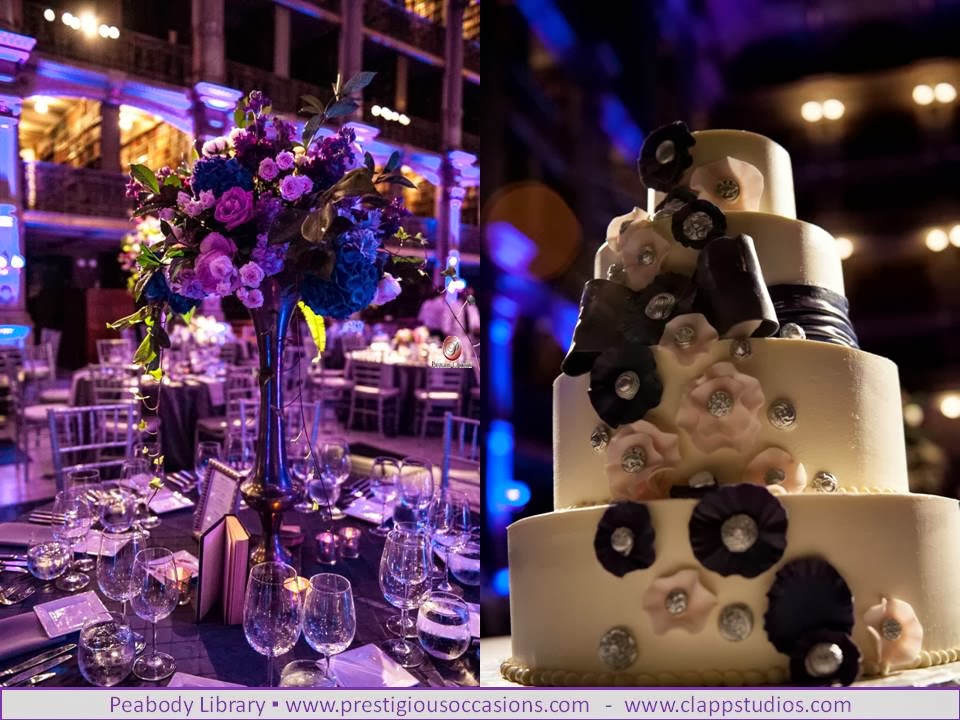
- Wedding Cake Flavors: Praline-the wedding cake came from a french bakery.
- Wedding Menu Favorite: Everyone loved the blending of the Nigerian and American foods, my personal fav was the Nigerian moin join.
- Bridesmaids Gifts: I spent the summer in Morocco and brought back Moroccan pillows, pottery and jewelry for all the bridesmaids.
- Groomsmen Gifts: Traditional Nigerian caps.


Wedding Theme
We were inspired by our desire to infuse African American culture with Nigerian style and tradition. We wanted to use bright bold colors and so chose teal and orange.
Wedding Style
My wedding dress was a fit and flare gown from Allure that I paired with a Maggie Sottero diamond belt and a lace veil from Etsy. I loved all of my accessories, but my favorite were my wing tip earrings from Nordstrom.
Incorporation of Culture
We did our best to mix both my SC and his Yoruba Nigerian roots: My bridesmaids wore Ankara fabric print dresses and the groomsmen wore matching Ankara bow ties. We jumped the broom, had both Soul Food and Nigerian food and played both styles of music.
Most Memorable Moment
There were so many great memories, my fave was after we said I do and jumped the broom, we danced down the aisle to “I Love My Life” by Demarco.
Wedding Advice
Don’t be afraid to stand up for your wedding vision, everyone will offer their input but it is your wedding and at the end of the day you want to be happy with what you see.
Vendors
- Wedding Planner: Prestigious Occasions
- Invitations/Stationery: Invita
tion Consultants/Vista Print - Ceremony and Reception Location: Preston Hall
- Wedding Dress: Allure
- Bridesmaids Dresses: Tailor Made by a family friend
- Grooms Suit: Topman
- Hair: Octavia at Studio Chique
- Make-up: Laide Akinfolarin of Style Dazzle
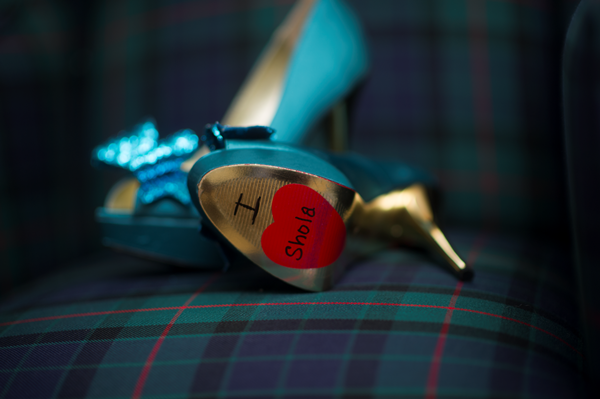
- Shoes: Luichiny
- Photography: Paosin Photography
- Videography: Faraday Video Productions
- Florist: We designed our own flowers
- Wedding Cake: Patisserie Poupon
- DJ: Dee’Jay Donn


